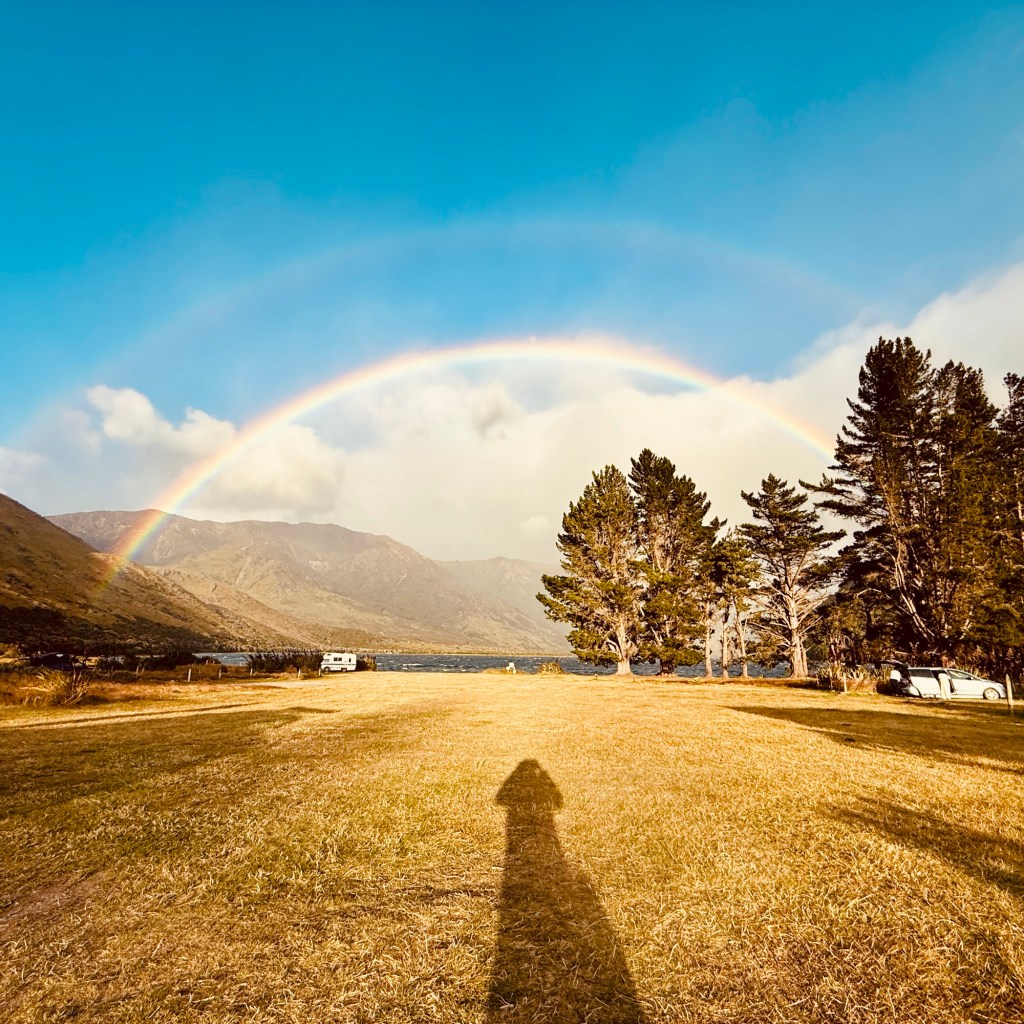
They say a picture tells a thousand words. Well this one doesn’t tell you anything about the past 2 days!! Behind the picture of a very pretty rainbow hides stories of the longest day I’ve ever had on a bike and multiple near death experiences in 100km that I thought was just going to be a nip down the hill.
It started benignly enough, an early(ish) start from Hawden Shelter campsite just below Authurs Pass. I was heading for Loch Katrine campsite via Lees Valley and lots of other tracks on Josh Martin’s (Adventure Guide) Smoking Dragon “Adventure”
By 1pm I was not far from heading up the hill via Lake Sumner Road and going to be at the campsite pretty early.
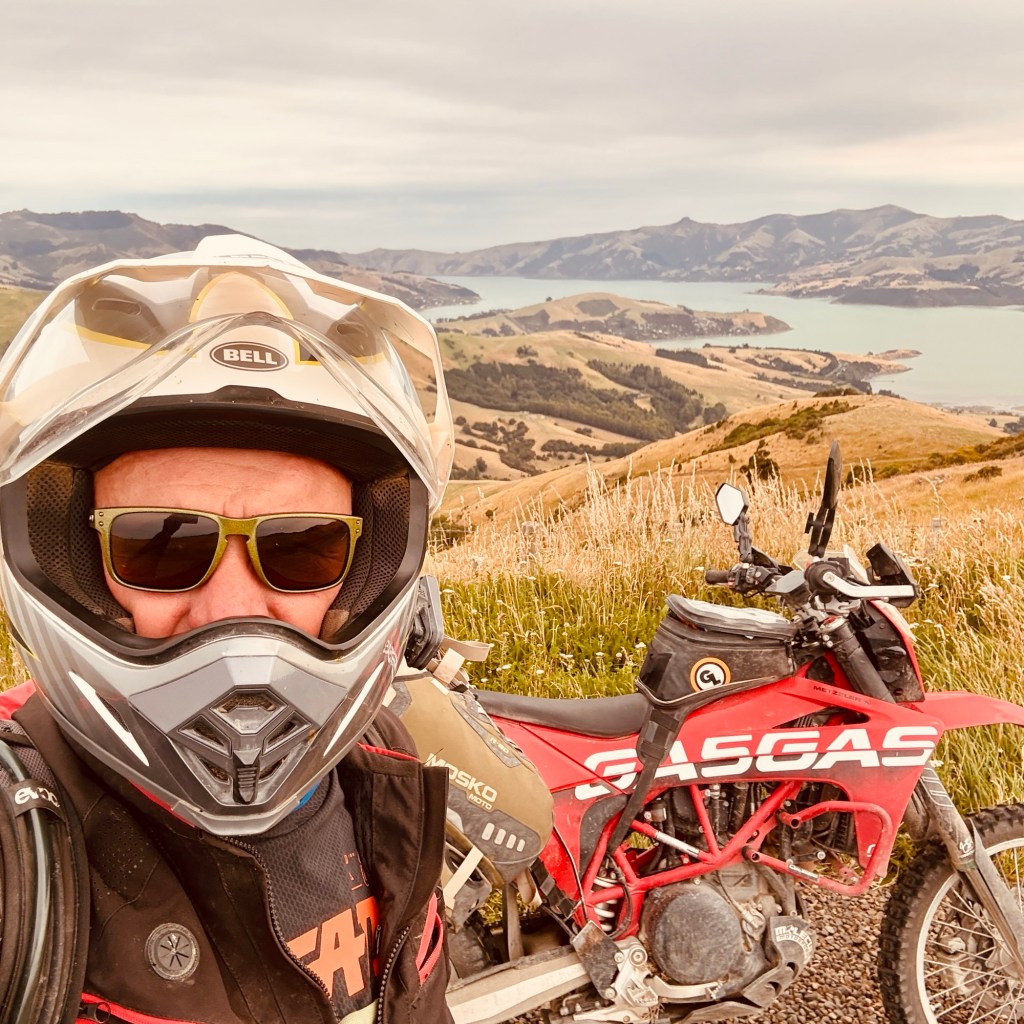
I’d had it in my radar to do Adventure Guides Banks Peninsular adventure. On let’s do it 👍
(Ed: hmmmm perhaps it’s all Josh’s fault 🤔)
What was a 380km planned day became a 707km day (lots and lots of gravel) with about 14 hrs riding time and a huge amount of ground covered.
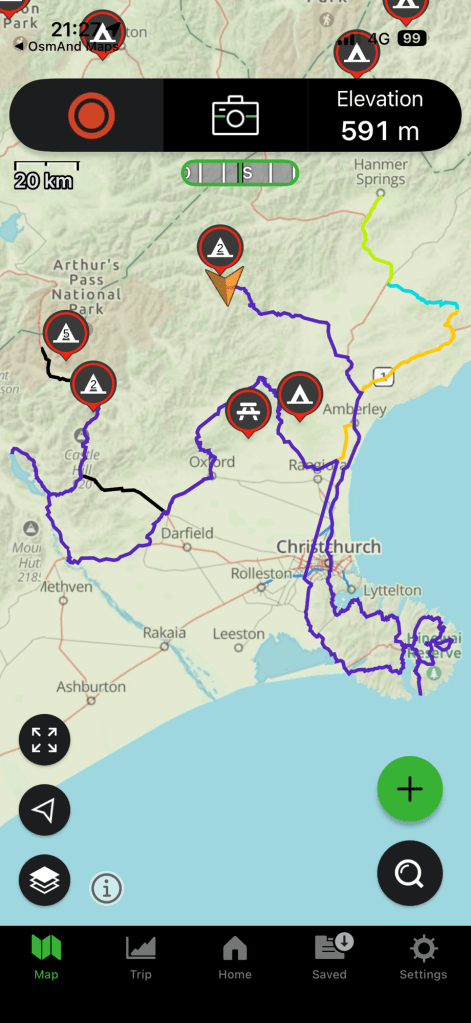
This wasn’t wandering and stopping to look at the view adv riding. From midday onwards it was missioning, it was all about getting the job done and if possible before the light failed.
I often ask myself “what is adventure?”, it’s something that I find intriguing. Suffice to say I think it’s complicated but in essence it’s about uncertain outcomes. That might be trying something that might not succeed or going places I haven’t been before. Yesterday ticked my adventure boxes and a learnt a lot from it. It’s good to know I can do I ride that involves 14 hrs of getting the job done 🤓
So it was a very tired Ian that arrived at Lake Taylor campsite in the last of the daylight, pitched his tent at and crawled into my sleeping bag last night
Sleep 😴
Not much. The wind picked up and up and up
Tired Ian didn’t get much sleep as the +100km/h wind roared like a jet engine through the big trees lining the lake/campsite boarder shaking my new tent to its limits.
Daylight arrived and the wind didn’t change. The wind was sooo wild it was ripping the water surface off the lake in clouds of spray

Wind was forecast to continue but it was also forecast to start hosing down with 40mm of rain 🤔
Fortunately Taylor’s lake has a cooking shelter more akin to a hut than a shelter. I was looking at spending the day there riding out the storm. I figured I had a book plus plenty of food and coffee
But
Nightmare! My new Jetboil has shat itself. I couldn’t get it to fire up initially and then when I did it was an unregulated ball of death flame 🔥 😩
Faaark.
Place to hide from the weather – tick ✅
E-reader loaded with books – tick ✅
Hot drinks (tea or coffee I don’t care) – nope 👎
Food – nope 👎(I’ve only got dehydrated meals with me)
Faaark
At this point I had a really cool encounter with another resident of the wind blown campsite. A fellow Brit who had a working stove and a mokka coffee pot. Plenty of coffee and chat later and the weather looked like it was improving.
The wind was no longer ripping the surface off the lake but the rain radar was showing there was plenty to come. Was this the time to duck through the gap and head to civilisation 🤔
So I did, I ducked out and made a beeline for Hanmer Speings Top 10. A world of hot showers and a working kettle.
but
The ride down Lake Sumner Road was fine but I picked up a significant tail wind as I hit the plain. In the future I’ll know the problem this was going to cause
It turned out this tailwind was still gusting +100km/h on the Cantubury plains and once onto the main road it was a brutal side wind doing all that it could to push me into the oncoming traffic 😧
The next 60km were probably some of the most terrifying I’ve done. One moment I’d be coping ok, the next I was being pushed hard to the right by and irresistible force with tonnes of immediate death steel racing towards me.
I should have stopped in Culverden. The town was super busy with lots of other people stopped but rightly or wrongly I had my eye on the prize and so I pushed on
After Culverden the wind exposure ramped up. What I didn’t think could get worse did. It culminated just as I was about to exit the plains and head into the foothills. I think a constriction was accelerating already brutal winds to the point where it had blown out a caravans windows. There was glass everywhere and the police had stopped traffic.
Once stopped it was horrendous! I was really struggling to keep the bike upright. I pulled onto the side and even on the side stand it was impossible. I had a shouting conversation with the cop who was hiding behind his patrol car. He was asking if I was alright, I was saying NO!
I spend somewhere around 30mins there hanging onto the bike in what felt like a full jet blast of these ferociously hot winds. I haven’t mentioned yet how hot it was. I’d kept my waterproof on from the escape from Lake Taylor because it’s very HiVis and I needed any help I could get in preventing my impending death on the road. As a result my elbows were wet from the gathering sweat 😰 cause by the 100km/h hot winds
After 30 minutes of literally hanging hoping something would change I decided I needed to try changing something and at the very least finding somewhere with some shelter.
Getting going was hard and scary but as I got going again it felt safer. Once I got to the turn off to Hamner the road got some shelter.
The relief of arriving at the campsite was significant. I was finally safe and could stop.
There was both a physical and mental toll from riding in the wind. I was so tired from both. Power is off in Hanmer so a shower hasn’t been possible yet. The wind is so drying I could feel a crusty ring of dried snot around my nostrils. I’m really looking forward to the luxury of a shower
Only one pub in Hanmer has a back up generator but I found a table and have availed myself of its facilities 🍺
So what’s adventure?
Would it have been adventure to not do dumb shit like adding a 240km extra loop to and already 380km planned ride 🤔
Would it have been more sensible to stay out at Lake Taylor and suck up the lack of coffee and ride out the storm 🤔 rather than putting myself through all those near death experiences. Where does hindsight sit in this?
I’ve definitely learnt some shit about myself and riding decisions I might make in the future. In simple terms:
- I can do 14hr of riding days if needed. They are tough but I can do them
- 100km/h winds are fucking dangerous for motorcyclists. I know “no shit Sherlock!!” But sometimes you just gotta learn the hard way
- Beer tastes sooooo guuuuuuud when it’s been really earned 🫡