
Choosing a bike, stripping the weight, and working out what comes next
Turning a farm bike into a farm race bike starts with finding a suitable bike, getting rid of the farm equipment, and making sure what’s left is ready for a decent hiding.
I’m doing this with a Suzuki DR200. Here’s what’s involved, what I’ve done so far, and what’s still on the list.
Choosing a base bike
Let’s be honest: the best bike is the one you’ve got and beggars can’t be choosers. Most likely the bike is coming to the end of its farm life and you are either acquiring it or buying it cheap (like me). But if you’re going to race it for four or 24 hours, it also needs to be reliable. You’re looking for a cheap bike with a good engine.
That probably means accepting something cosmetically rough as guts. The bottom of these bikes spends its working life outside covered in wet cow shit, and that stuff is fierce. Expect corrosion, seized fasteners, and some jobs that take longer than they should.
The trick is to look past ugly plastics and tired paint while paying attention to the condition of the parts you’ll actually be racing. A cheap purchase can become expensive quickly if the engine, frame, or suspension needs major work.
Rough racks and bent bars are less of a concern. You’ll be removing plenty of the farm equipment anyway, and you’ll probably want stronger handlebars. OEM Ag bike bars tend to be weak and really bendy.
Before buying, check the rules for the event you want to enter. Make sure the bike—and the changes you’re planning—will fit.
Starting baseline
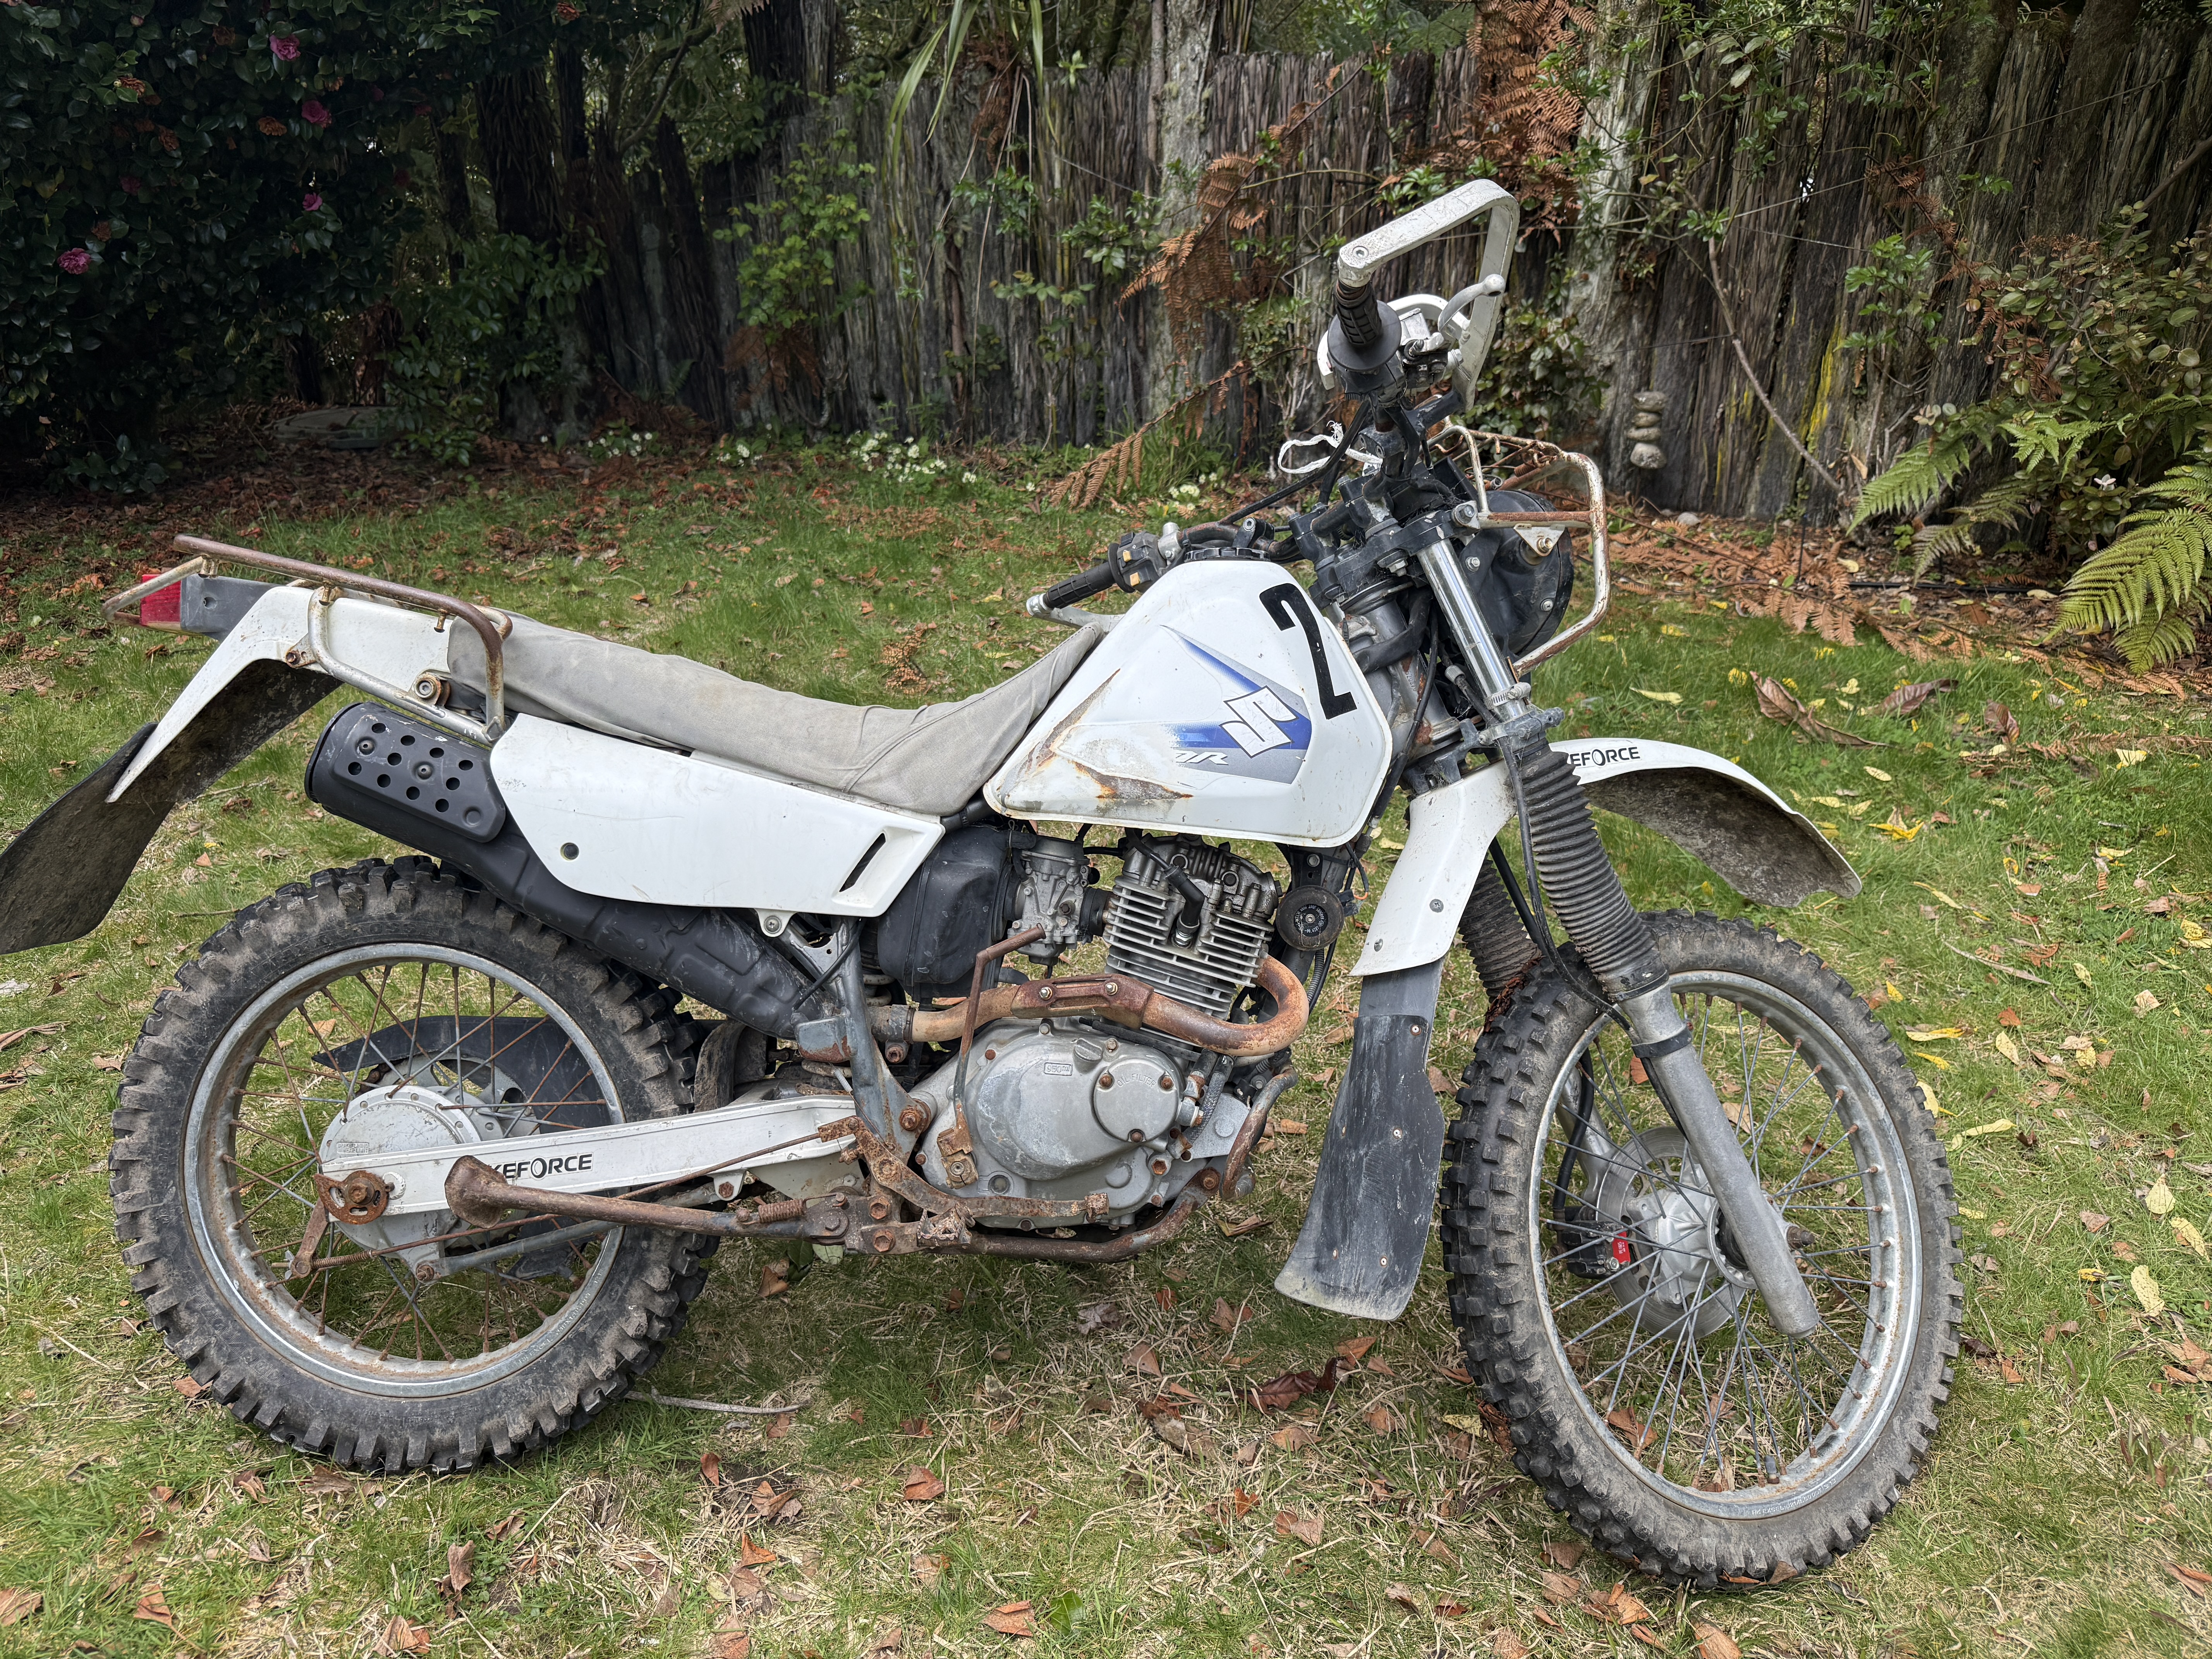
Before pulling anything off, I weighed my bike to see where I was starting.
My DR200 weighed 129kg with a full tank.
Remove the farm equipment
The first stage is straightforward: work out what needs removing to meet race rules (typically race rules require removing racks) and what the bike no longer needs for its new job.
- Front rack and headlight
- Rear rack and rear light
- Front and rear mudflaps
- Right-hand side stand
- Chainguard
- Odometer & dash lights
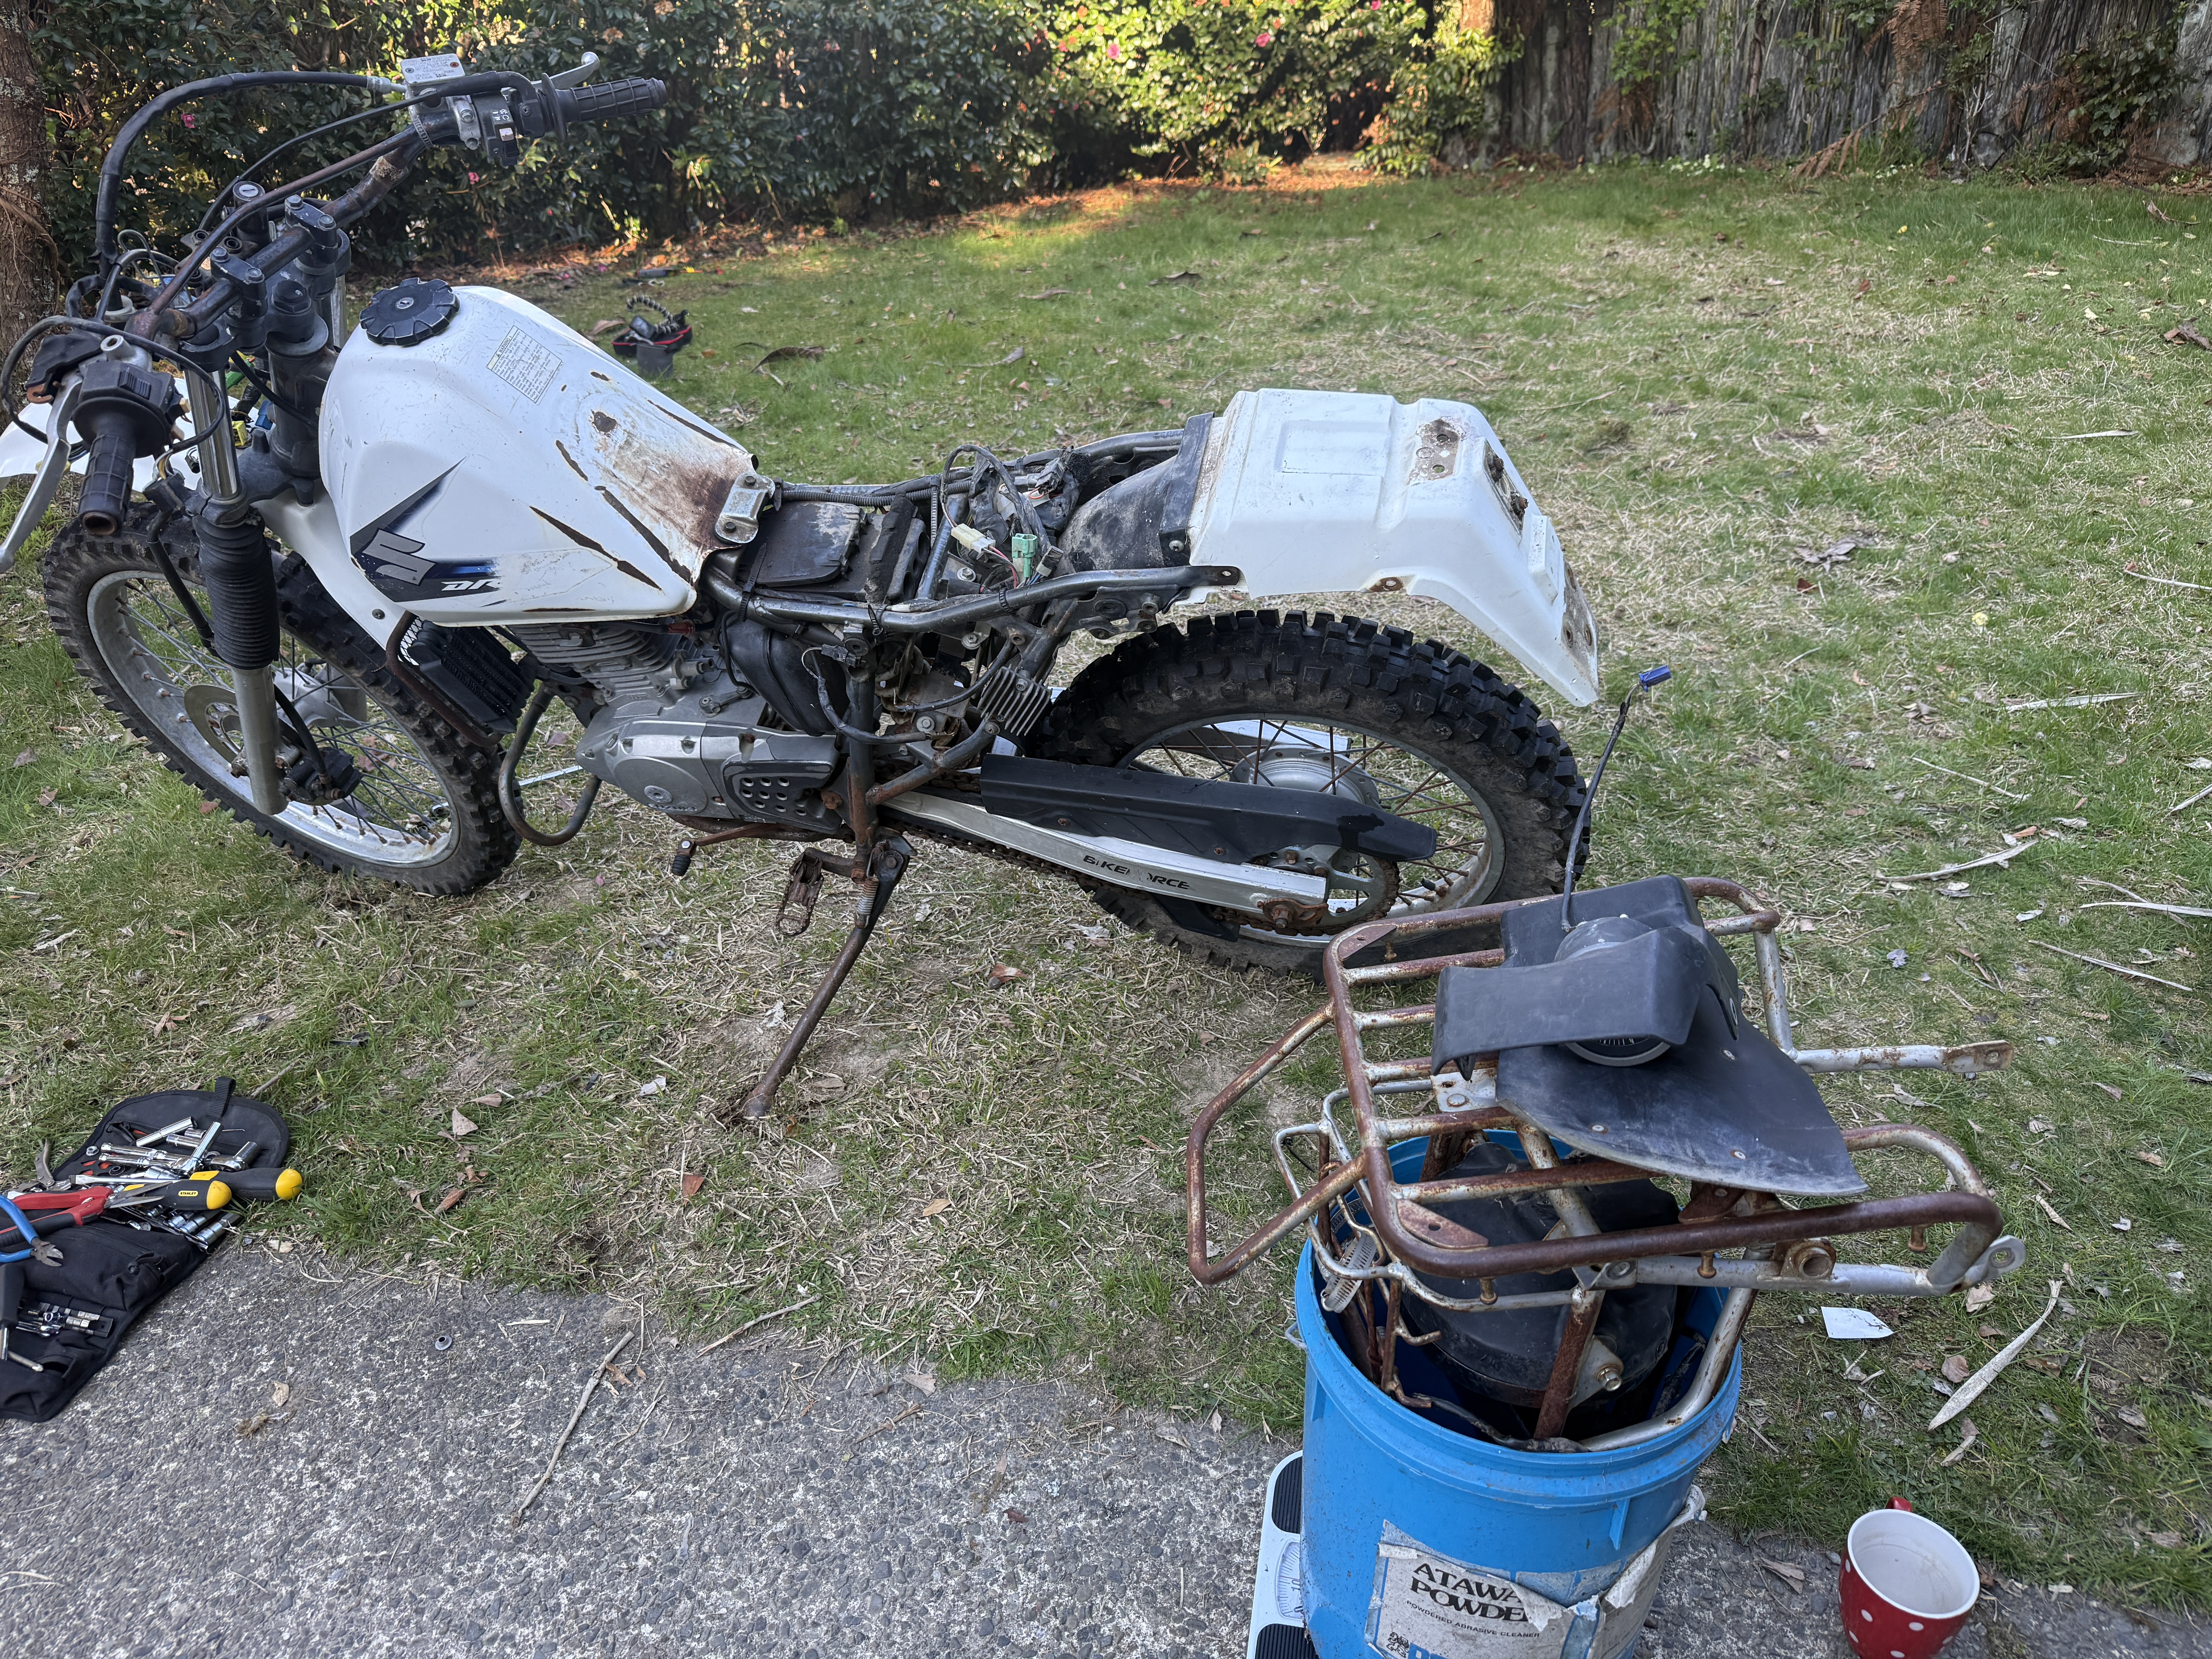
Thats about 9kg right there
I also de-keyed the fuel cap and chopped the rear fender.
To de-key the DR’s fuel cap take off the fuel cap and turn it upside down, remove the 2 x Phillips head screws and remove the retaining plate. Remove the internal locking bars/springs then reinstall the retaining plate and 2 screws. Done
Sort the bars and controls
Once the racks are off, the handlebars are the next area to tackle. Changing the bars will make the bike stronger and is an opportunity to save a bit more weight and simplify the electrics.
The stock bars are 22mm, I already have a set of OEM GASGAS ES700 bars on the shelf which need a 28mm mount so I’ve ordered a set of 22-28 handlebar adaptors/risers.
An On/off and starter switch, New grips and a Front number board will remove the heavy key ignition barrel and tidy up the front end.
When changing bars, also check cable and hose routing through the full steering movement. The controls need to work freely without anything pulling tight or snagging.
Ride it.
Once the bars and controls are sorted, I’ll be able to ride-test the bike properly giving brakes, tyres, wheels, bearings, chain, and controls a proper check. Removing weight doesn’t fix worn-out running gear.
Tyres are important to sort at this point. Mine are a bit old but are hardly worn.
Get the suspension working properly
My next jobs are to assess the forks and rear shock, and service the suspension linkages.
I’ll start by getting the existing parts working as they can. Worn bearings, seized linkages, and neglected suspension need attention before you can judge the setup fairly.
At the front, I want to look at preload and investigate a heavier fork oil. Its easy enough to make preload spacers from PVC pipe and oil viscosity affects damping. Heavier oil isn’t automatically better, so that’s something to assess through testing. I’ll do a seperate post on this.
At the rear, I’ll check the shock’s condition and see what servicing is worthwhile. Adjustment will probably be limited to just winding the preload up.
Improve the contact points
Along with the bars the footpegs and seat are where you control the bike, so they deserve some attention.
I want to improve the footpegs and investigate moving them back a little. That means considering the position of the gear lever and rear brake pedal as well as the pegs themselves.
A grippier seat cover is also on the list. As the bike starts getting ridden harder, staying in position should take less effort.
Weigh up an exhaust change
The exhaust is a potential source of further weight savings so it’s on my list. An mx end can will be a lot lighter but fabbing a connection pipe will need work.
Check the event’s noise requirements and modification rules. Account for any fuelling changes the replacement might need.
Leave cosmetics until last
Once the bike works properly, then it’s time for new fenders, tank paint, and graphics.
On mine, that means replacement front and rear fenders, painting the tank, and adding some graphics to finish it off.
For now, the first stage is complete: 9kg removed, replacement controls and fitting parts ordered, and a clear list of jobs before the first proper test. The next decisions will come from riding it.
Leave a Reply